How to Install a Bathroom Vanity Unit: A Step-by-Step Guide
A bathroom vanity unit is a practical and stylish addition to any bathroom. It provides a storage solution for bathroom essentials and adds a touch of elegance to the space.
Fitting a vanity unit in your bathroom might seem like a daunting task, but with the right tools and knowledge, it can be done easily. In this article, we will guide you through the steps of installing a bathroom vanity unit.
What You Need to build the Vanity Unit
When constructing and maintaining your bathroom vanity unit, several products can make the process easier and more effective. Here are some essential products you should consider:
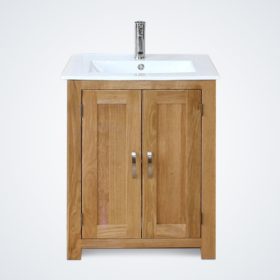
Vanity Unit: Choosing between a pre-assembled or DIY vanity unit is an important decision to make when selecting a bathroom vanity unit.
Pre-assembled units come fully built and are ready to install, while DIY units require some level of assembly before they can be used. The choice between the two options depends on factors such as the level of expertise of the installer, the time and effort required for assembly, and the available tools and equipment.
Don’t forget the back panel of your vanity unit
Check if the vanity unit has a solid back panel and plumbing space before cutting. For a solid panel without utility space, measure and locate the optimal position for waste and water pipes. This step is important as it ensures that the unit will be stable and durable in the long run.
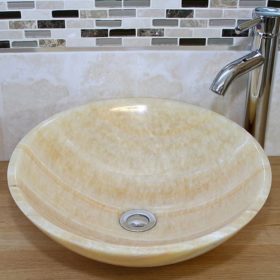
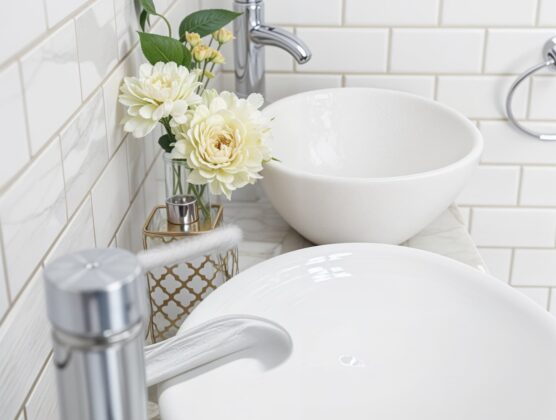
Basin: Choosing and fitting a bathroom vanity unit basin requires careful consideration of size, style, and mounting options.
There are many types of faucets to choose from, including single-handle, double-handle, and touchless faucets.
At Bathrooms and More Store, we have a wide selection of high-quality bathroom basins for you to choose from, and we’re ready to assist you in finding the ideal match for your bathroom. Please feel free to contact us without hesitation.
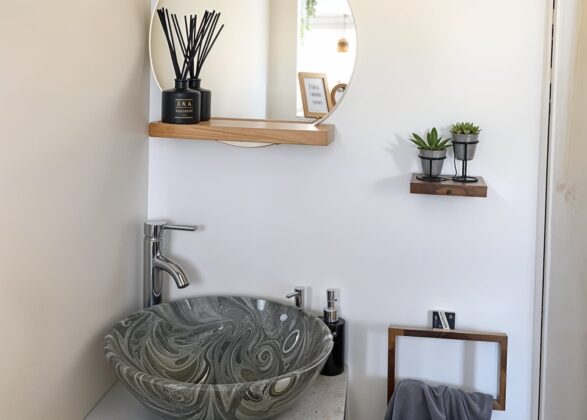
Countertop: To choose the right bathroom vanity countertop, consider if it’s wall-mounted or freestanding, its edge shape, and a material that matches your bathroom. Also, ensure it fits properly and the surface is flat for your basin’s correct installation.
Wall Fixings: To secure your vanity unit to the wall, you’ll need screws and wall plugs. Make sure to choose the right size for your unit and the type of wall you have.
Pipes and Fittings: You’ll need pipes and fittings to connect the basin to the water supply. Consider hiring a plumber if you’re not confident in doing this yourself.
Silicone Sealant: Use silicone sealant to seal the edges of the unit where it meets the wall and the basin. This will prevent water and moisture from getting behind the unit and causing damage.
Important measurements
In addition to essential items, it is essential to measure your bathroom space, the size of your basin and the vanity unit accurately.
- Measure the available space: Measure the width, height, and depth of the space where you want to install the vanity unit. Consider any obstacles, such as doors or windows, that may affect the size of the unit.
- Determine the size of the basin: Measure the width, depth, and height of the basin that you plan to install. Make sure the basin fits comfortably within the available space.
- Consider the clearance: Consider the clearance between the basin and any obstacles, such as the wall or other fixtures. You should have at least 4 inches of clearance on all sides of the basin for easy access.
Finally, ensure compatibility by checking the vanity unit’s suitability with your plumbing and electrical system. Failure to check compatibility can result in costly repairs or even a complete replacement of the unit. Therefore, taking the time to check compatibility beforehand can save you time and money in the long run.
Fitting the Vanity Unit
Fitting a bathroom vanity unit requires careful attention to detail to ensure a secure and safe installation. Follow these step-by-step instructions to fit your vanity unit:
1.Disconnect the Plumbing: Before starting the installation, it is crucial to disconnect the plumbing and remove the old vanity unit safely. Turn off the water supply and valves, and remove the basin trap to prevent damage.
2.Mark the Position: Place the vanity unit onto the wall and mark the position of the screws. Use a spirit level to ensure the unit is level. If the unit has legs, ensure they are level as well.
3. Drill Pilot Holes: Using a drill bit slightly smaller than the screws provided, drill pilot holes into the wall at the marked positions. Make sure the holes are deep enough to hold the screws securely.
4.Screw the Vanity Unit onto the Wall: Using the screws provided, screw the vanity unit onto the wall. Start with the top screws and work your way down. Ensure the screws are tight, but do not overtighten them, as this can damage the wall or the unit.
5.Check the Level: Ensure that the vanity unit is level after screwing it onto the wall by adjusting the legs or using shims if needed.
6. Connect the Plumbing Properly: Attach the mounting bracket to the studs using level screws, connect the water supply and waste pipe to the appropriate fittings, and check for any leaks once the faucet has been installed.
7.Seal the Edges: Apply silicone sealant around the edges of the unit where it meets the wall and the basin. This will prevent any water or moisture from getting behind the unit and causing damage.
Remember to take your time when fitting your vanity unit and double-check each step to ensure a safe and secure installation.
How to Wall-Mount Your Bathroom Vanity Unit
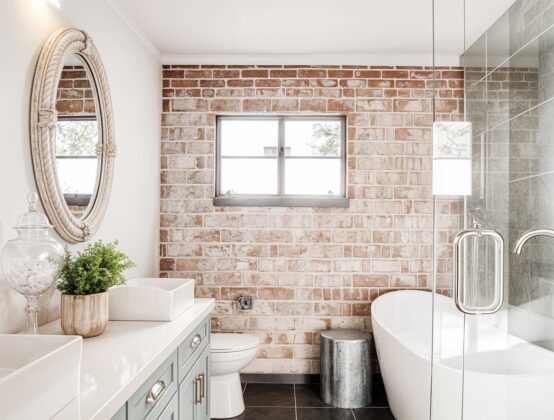
If you’re looking to add some extra storage to your modern and minimalistic bathroom while keeping the floor space open, a wall-mounted vanity unit can be a great solution.
To start the installation process, begin by measuring the width of the wall where you want to install the vanity unit. Be sure to measure the wall at the top, middle, and bottom to ensure accuracy.
Next, decide on the placement of your basin.
Determining the appropriate height of the wall-mounted vanity unit by measuring the distance from the center of the basin to the floor ensures a proper and functional installation of the basin.
To install a basin onto a wall-mounted vanity unit, the first step is to identify the desired placement of the basin and mark the corresponding position on the wall.
Once the position has been determined, measure the centre of the basin to the nearest pipe to ensure proper connection of the water supply and waste pipes to the basin.
For a freestanding basin, ensure that the waste pipe is positioned to easily connect to the drain.
Then, drill pilot holes and attach the basin to the wall using mounting screws and fixtures. Use a spirit level to ensure that the basin will be mounted level.
Finally, after attaching the basin to the wall, connect the plumbing and check for leaks. Apply silicone sealant to the gap between the basin and vanity cabinet as well as the bathroom wall to prevent water damage.
Wait for it to try for a day before turning on your water supply in case there were to be any leakages.
Here are some additional tips to keep in mind when it comes to your bathroom vanity unit:
- Think about your decor: Your vanity unit should match the overall style and colour scheme of your bathroom. Consider the colour of your walls and tiles, as well as any decorative accents you have in the room.
- Choose materials wisely: The materials you choose for your vanity unit should be both functional and stylish. Choose the right material, as well as its aesthetic appeal.
- Add storage: Your vanity unit should have enough storage to meet your needs. Consider adding drawers or shelves for towels, toiletries, and other bathroom essentials.
- Accessorize: Add decorative accents to your vanity unit to tie it in with the rest of your bathroom decor. Perhaps, add a vase of flowers, a decorative tray, lighting, or even a scented candle .
Selecting the Appropriate door for your Bathroom Vanity Unit
Despite being overlooked in the process of fitting a vanity unit, the type, size, and location of the door should be carefully considered to ensure convenient access to the basin and storage compartments.
It should be easy to open and close, and securely latched when not in use, with the type of hinge and latch mechanism being important factors. If space is limited, sliding or bi-fold doors can be a space-saving option.
Furthermore, your door should also match the style and design of your bathroom, taking into account factors such as colour, finish, and material.
Remember to choose high-quality materials that can withstand the moisture and humidity of the bathroom environment.
This is particularly important in the UK due to the country’s climate. The high levels of rainfall and damp weather can lead to a buildup of moisture, which can cause mould and mildew growth.
Take a look at this guide to prevent condensation from occurring in your bathroom.
How to take proper care of your vanity units
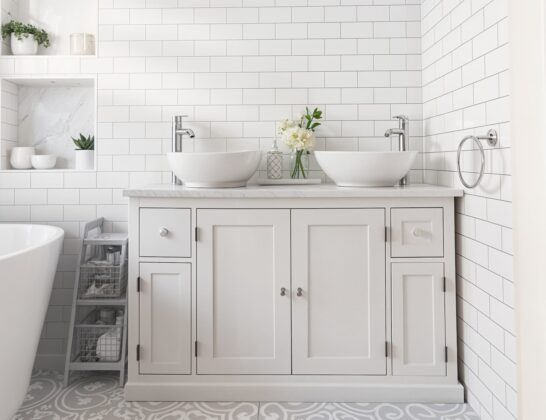
To maintain the pristine look of your bathroom vanity unit, it’s crucial to use appropriate cleaning products and avoid harsh chemicals that can damage the finish. To maintain wooden vanity units, regularly cleaning them with mild soap and a soft cloth, avoiding abrasives and applying a protective coating to prevent water damage can help maintain their quality.
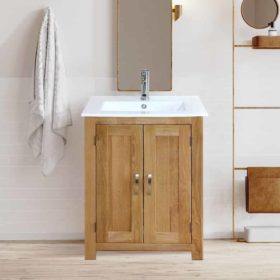
On the other hand, if you’ve got an oak bathroom vanity, keep it away from direct sunlight, humidity, and extreme temperature changes. These simple steps can extend the lifespan of your vanity unit, ensuring it remains an attractive addition to your bathroom for years to come.
